Monday, May 23, 2011

Jumbled quilt

When I was designing my Twirligig quilt I made a few blocks that would not work for that quilt.  That quilt needed contrast between the fabrics to make the pattern stand out which the rejected blocks did not have.  So, I decided to make a few more of the rejected disappearing 9 patch blocks and came up with Jumbled.  Though it may look complicated at first glance, it is super easy.


I used the same Kaffe Fassett fabrics, the same 9 patch block construction and cutting method as Twirligig and came up with a totally different quilt.  I just changed how I arranged the 4 parts of the disappearing nine patch after I cut each block.  I did not sew the 4 pieces of each block back together to form the traditional disappearing nine patch block.  Instead, I used each of the parts as it's own block in my Jumbled quilt.  So,  the nine patch actually became 4 new blocks.  The blocks are arranged in an alternating pattern which I think makes a great scrap quilt!

For the quilting on this quilt, Linda of L&R Designs used her version of a design called Wonky Feathers.

Saturday, May 14, 2011

Nickel Gumball quilt


In my sewing room sits a gumball machine.  Our grandchildren love putting in pennies and getting gumballs out.  I think every one of them has gone through the stage where they only want a certain color of gumball.  So they keep putting in pennies until they get the color they want.  Right now Macy only wants pink gumballs.  The gumballs in that machine with their bright colors along with this polka dot fabric from my stash was the inspiration for my Nickel Gumball quilt .


To make a gumball, I started with nickel square,of course, and made a snowball block.  I wanted to arrange the gumballs randomly so I designed a block where the snowball was not in the center as shown below.  All I had to do was rotate the block to create the random layout that I wanted.


Linda of L&R Designs used a pantagraph called Double Bubble to quilt my Nickel Gumball quilt.  Here's a close-up-


Friday, May 6, 2011

Twirligig quilt

I recently discovered the Disappearing Nine Patch block.  Not the concept itself but the now common name for cutting up a nine patch block and rearranging the pieces.  Since I have been doing alot with my idea of the Nickel Nine Patch block which is a nine patch made from nickel (5") squares or strips, I thought I'd try the Disappearing Nine Patch technique on the Nickel Nine Patch block. And Twirligig was born!


I used scraps of my Kaffe Fassett fabrics most of which I already have cut into nickel squares.  When I realized that I had six colorways of the same print, I decided to use the print in the center of each Nickel Nine Patch block.  Here's pictures of how I did it-


This easy technique can create very interesting designs that look complicated.  Try it, you'll like it! Remember that old saying from the seventies and maybe a commercial?  Now I'm dating myself but I've already told everyone my age anyway.  Ha!

I wanted an overall quilting pattern for my Twirligig quilt and as usual my long arm quilter gave me more than I expected.  Linda of L&R Designs came up with a custom design that she calls Cockscomb Meander.  The variegated thread was the perfect choice also.  Check out her blog to see more inspiring quilting designs.


Monday, April 25, 2011

Nickel I Spy #3

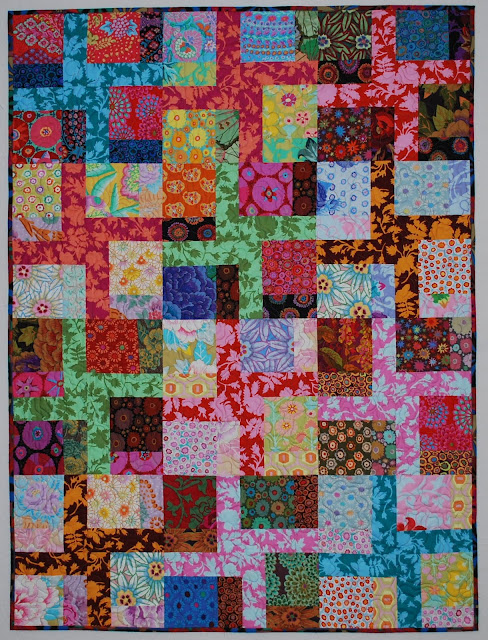
This I Spy quilt is for Lily. Lily turns 4 this week. We have 6 grandchildren turning 4 in a year's time.  From September 19, 2006 through September 18, 2007, my husband's 4 daughters, my daughter and my son's wife all had children!  I think that's probably some kind of record.


Lily has a baby sister, Lucille or Lulu as Lily calls her so I thought it would be nice for them to have matching I Spy quilts.  By matching, I mean all of the I Spy squares are the same in each quilt but are arranged differently so they can play a matching game when Lulu gets old enough.


As you can see, I added their names in the center of the quilt.  I fused the letters of their names on and did a small zigzag stitch around each letter.  I used a different color scheme for each quilt.  The same fabric was used for the name, the backing and binding on each quilt-pink for Lily and lavender for Lucy Violet.

Linda of 
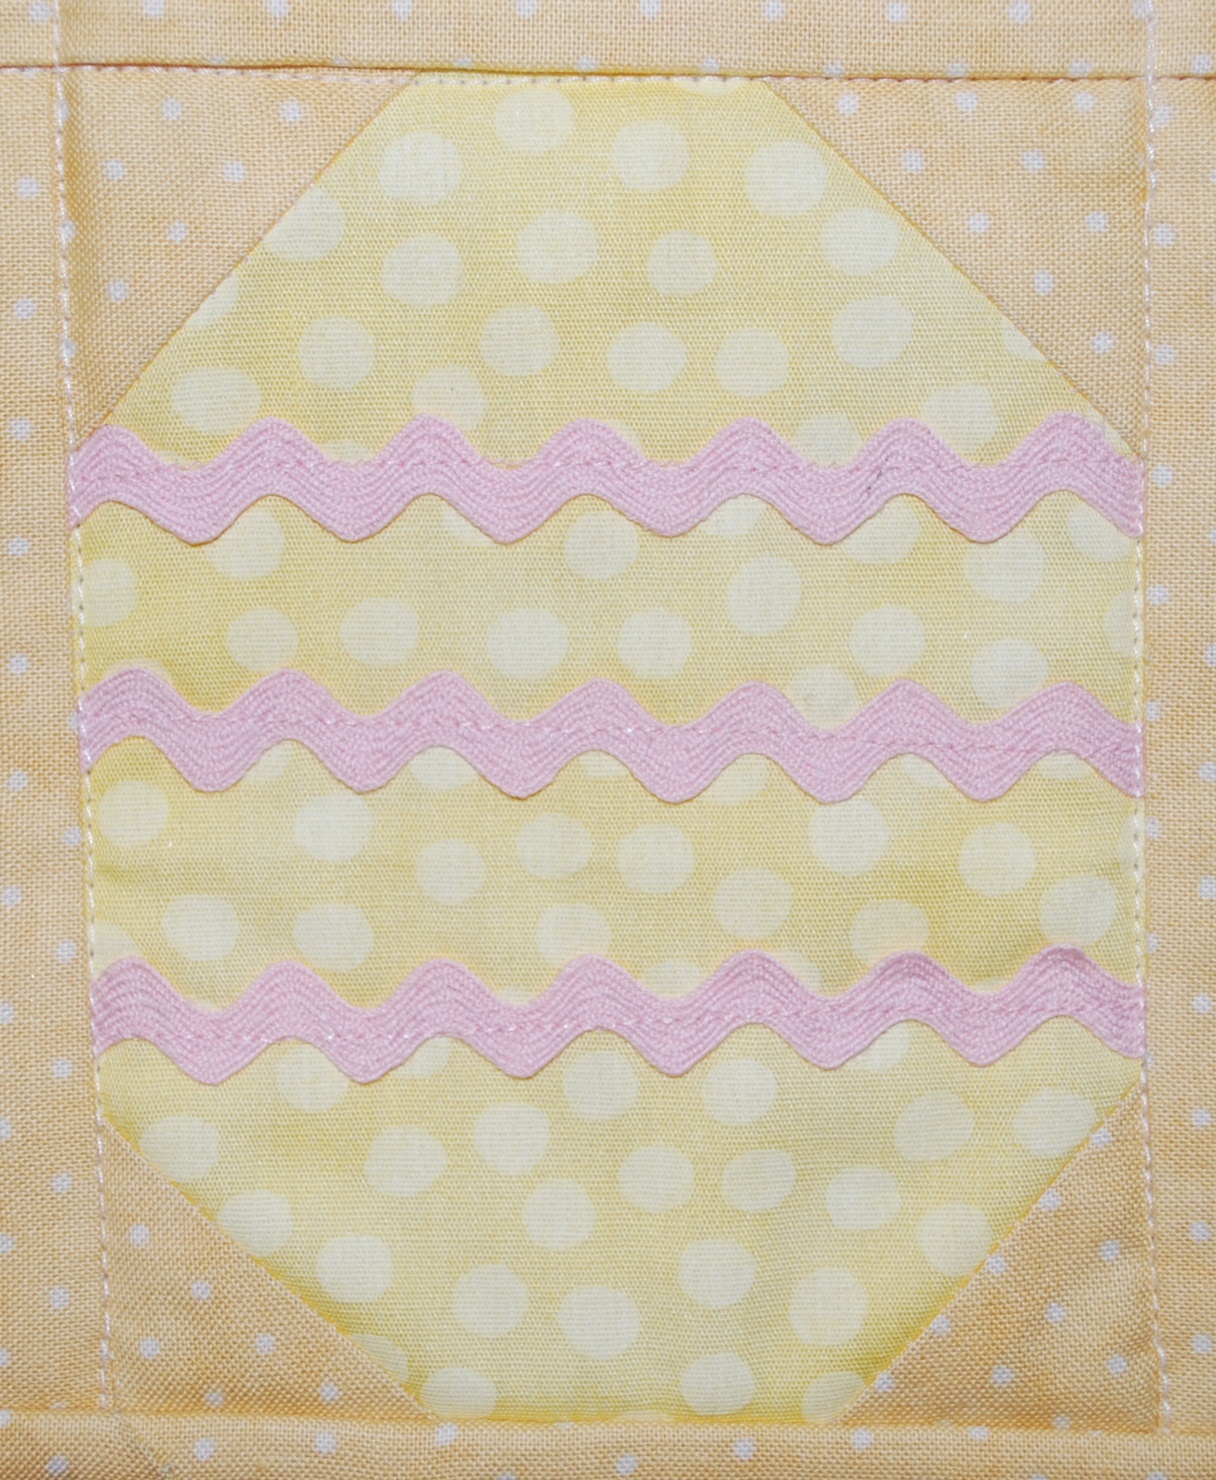
L&R Designs did a cute flower and loops quilting design that really added to the "girlyness" of the quilts.  Here's a close-up of the design on Lily's quilt.   A pastel variegated thread was used on Lily's quilt and a lavender thread was used on Lucy's.  Two quilts done, many more to go!

Saturday, April 16, 2011

Easter Eggs quilt

Just in time for Easter with a week to spare!  I say this with surprise because I too often finish projects late or give up on them when I know I can't complete them by the time I want to use them or give them as gifts. 

This Easter Eggs quilt just popped into my head last week. As I sat staring, with a basket of odd pieces of trim sitting in my line of vision, I came up with the idea to "decorate" some nickel squares.  This turned into decorating "egg" blocks and my Easter Eggs quilt was born.  Funny how the design process works sometimes!  Now I have a table topper to decorate my table for Easter or maybe I'll put it on the wall and use it as a wall hanging.


To decorate the "eggs", I used scraps of ribbon and rickrack of various sizes and even some scraps of chenille strips.  I left a few eggs without any embellishment when I felt the pattern of the fabric was enough.  A fat quarter was used in the center and was the color inspiration for the fabrics and trims.  This project would be a good use for all those decorative stitches on my machine that I never use.  Maybe sometime I'll decorate some eggs that way.  Here are some close-ups of a few of the eggs-


As I was looking at this quilt on my table, I decided that Easter Egg coasters would be cute so I made this one.

            Easter Eggs quilt as a table topper                                  Easter Eggs coaster