
After making this mini quilt, I realized I could make the area I have circled below better. I'm not crazy about all those seams in that area so I eliminated them and wrote a tutorial which is posted below the photo.

How to make a scrappy Dutch Rose quilt block from 5" squares of fabric (known as nickel or charm squares) tutorial
|
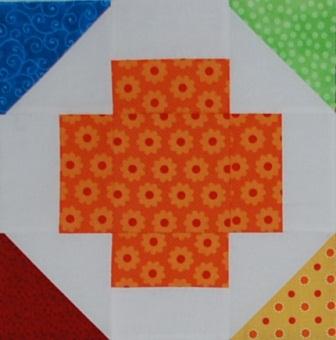
| Scrappy Nickel Dutch Rose quilt block |
1. You will need the following fabrics for 1 quilt block:

 |
| 1 3/4" "bonus" blocks |
If you don't want the extra block, don't draw or sew on the second line. Just trim 1/4" from the corner to corner diagonal line after sewing on it to complete your block. Make 8 blocks like this.

3. To make the block in the center of each side, follow the steps shown below to make 4 units.


4. To make the points of the center star block, follow these steps and make 4:


5. Sew the 2 units together as shown using a 1/4" seam allowance.

6. To make the corner block, follow the same basic steps as before as shown below. The four intersecting seams circled above have been eliminated! 


7. To finish the corner blocks, add your corners, 2 background blocks and 2 half square triangle blocks as shown. All four corners are made the same.

8. Arrange the blocks as shown below and sew together in rows.

9. Sew the rows together and the block is complete!


