

Sew nickel squares together and add border. Position the Lil' Twister on fabric as instructed and cut out new squares. Second photo shows fabric after new squares have been cut.

Sew new squares back together and get pinwheels, border and all!
 And if you want to be really thrifty, you can make a miniature with the left over fabric.
 Just cut 2 1/2" squares from the uncut areas like shown in this photo-

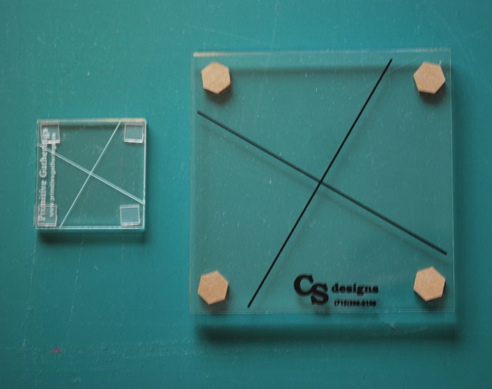
Here's what the tools look like-
The original Twister tool is made for a 10" square of fabric. Check out Linda's Twister quilt here. I love it!
Love the colors! Looks like a lot of us have been on a Lil' Twister kick, I just finished a couple and have them on my blog too.
ReplyDeleteQuilting by the River
So cute!
ReplyDeleteConnie, just checked out your blog. You have several great ideas for using the Lil'Twister tool and I see you don't live far from me!!
ReplyDeleteThis is a great idea to make the tiny twister! Especially since I have everything but the largest! I also love the red/white quilt you showed.
ReplyDelete