 |
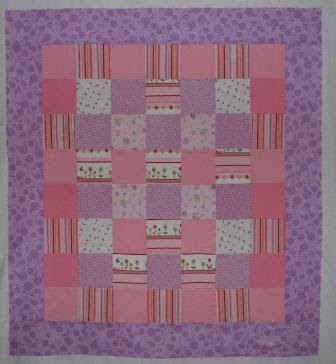
| Lainey's small quilt |
 |
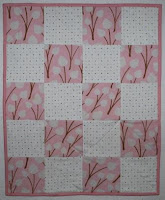
| Doll quilt #1 |
 |
| Doll quilt #2 |
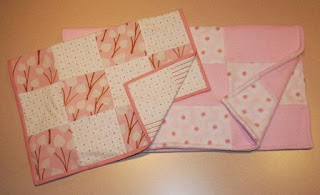 |
| Doll quilts showing reverse side |
After spending way too much time and energy trying to make Lainey's
Big Twister receiving blanket quilt reversible, I gave up and found some fabric in my stash that I can use for the backing. I'll post that after it has been quilted. Instead of a reversible quilt, she gets a second smaller quilt, 41" X 45", and two quilts for her "babies"(dolls) that are reversible. I used the leftover waste squares from the
Big Twister quilt to make
Lainey's small quilt and both sides of D
oll quilt #2. The leftover squares just happen to be 5" squares!
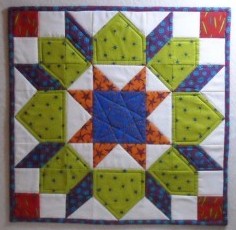
I had wanted to make the
Big Twister quilt reversible because that's how I made her older brother and sister's quilts. In fact, I made her brother two!! Of course, he's the oldest. My youngest granddaughter turns two in May so her blankets are waiting to be made into a quilt also. Hers will be much easier because they are all color coordinated. Here are a few poor pictures of the other quilts I made. I didn't even get the back side of the last two but they are about the same as the front.


